

Are you craving waffles but don’t have a waffle maker? Don’t worry, we’ve got you covered! In this article, we’ll show you how to make delicious homemade waffles without the need for a fancy appliance. Whether it’s a lazy Sunday morning or an impromptu brunch with friends, our simple method will have you enjoying crispy-on-the-outside and fluffy-on-the-inside waffles in no time!
All you need are basic ingredients that can be found in your pantry and some common kitchen tools. No need to rush out and buy a specialized gadget – we’ll teach you how to achieve that classic waffle texture using just your stovetop and a few clever tricks. By following our step-by-step instructions, even if you’re not an experienced cook, you’ll soon be whipping up golden-brown waffles that will impress everyone at the breakfast table. So let’s dive in and discover the secret to making mouthwatering waffles without a waffle maker!
Ingredients
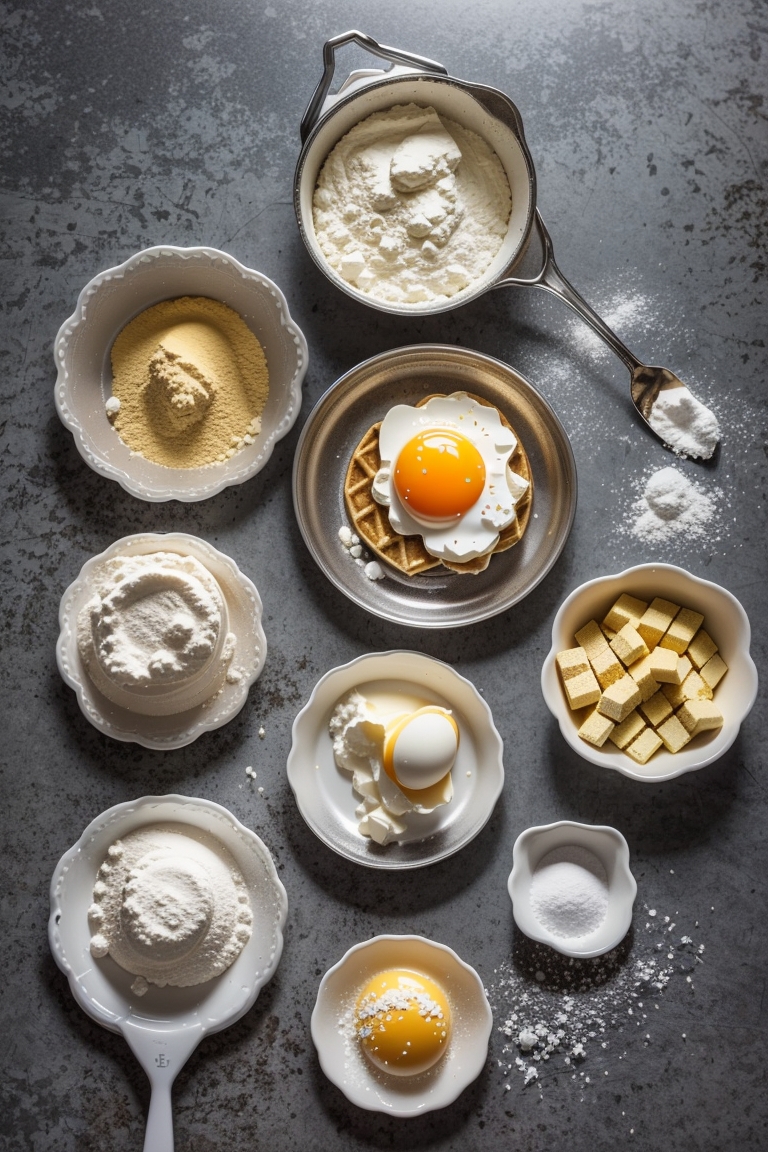
To make waffles without a waffle maker, you’ll need the following ingredients:
- All-purpose flour – 2 cups
- Baking powder – 1 tablespoon
- Salt – 1/2 teaspoon
- Granulated sugar – 2 tablespoons
- Eggs – 2 large eggs
- Milk – 1 and 3/4 cups (whole milk works best)
- Unsalted butter (melted) – 1/4 cup
- Optional: Flavorings such as vanilla extract or cinnamon for added taste.
Here’s a breakdown of what each ingredient brings to the table:
- All-purpose flour forms the base of the waffle batter, providing structure.
- Baking powder helps the waffles rise and become fluffy.
- Salt enhances the overall flavor of your waffles.
- Granulated sugar adds sweetness to balance out other flavors in the batter.
- Eggs act as binding agents while adding richness to your waffles.
- Milk contributes moisture and tenderness to achieve that perfect texture.
- Melted unsalted butter imparts a deliciously rich taste and crispy exterior.
Feel free to customize your homemade waffle recipe by incorporating additional flavors like vanilla extract or sprinkling some cinnamon into the batter.
Now that we have our ingredients ready, let’s move on to how you can prepare your very own scrumptious homemade waffles without needing a dedicated appliance!
Mixing the Batter
To make waffles without a waffle maker, you’ll need to start by mixing up a delicious batter. Here’s how you can do it:
- Gather your ingredients:
- 2 cups all-purpose flour
- 2 tablespoons sugar
- 1 tablespoon baking powder
- 1/2 teaspoon salt
- 2 eggs
- 1 and 3/4 cups milk
- 1/2 cup melted butter or vegetable oil
- In a large mixing bowl, whisk together the flour, sugar, baking powder, and salt.
- Create a well in the center of the dry ingredients.
- Crack the eggs into the well and pour in the milk.
- Use a fork or whisk to gradually incorporate the dry ingredients into the wet ones until you have a smooth batter.
- Slowly drizzle in melted butter or vegetable oil while continuing to mix until fully combined.
- If desired, add any additional flavorings such as vanilla extract or cinnamon at this stage and stir them in thoroughly.
- Allow your batter to rest for about 10 minutes before using it to cook waffles on an alternative cooking surface like a skillet or griddle.
- While waiting for your batter to rest, preheat your cooking surface over medium-low heat and lightly grease it with non-stick spray or butter.
- Once heated, ladle about 1/4-1/3 cup of batter onto the cooking surface per waffle.
- Cook each side for approximately three minutes or until golden brown before flipping with a spatula and repeating on the other side.
12.Serve hot with your favorite toppings like syrup, fresh fruits, whipped cream, or even ice cream!
Now that you know how to mix up some delicious homemade waffle batter without needing a dedicated machine let’s move on to our next step: cooking the waffles!
Preparing the Waffle Iron Alternative
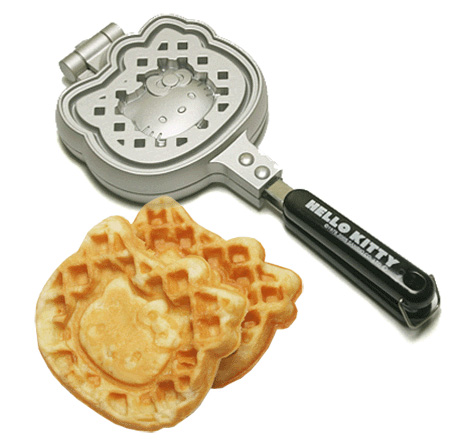
When making waffles without a waffle maker, it’s important to have a suitable alternative that can mimic the texture and shape of traditional waffles. Here are some methods you can use to prepare your waffle iron alternative:
- Stovetop Waffle Pan: Invest in a stovetop waffle pan specifically designed for making crispy waffles on the stove. This pan usually has deep grooves to create those classic waffle patterns.
- Grill Pan or Skillet: If you don’t have a specialized stovetop waffle pan, don’t worry! A grill pan or skillet can work just as well. Make sure it has ridges or indents similar to those found on a regular waffle iron.
- Waffle Mold: Another option is using silicone or metal molds shaped like mini-waffles. These molds can be placed directly on your cooking surface, such as a griddle or skillet.
- Baking Sheet: For larger, Belgian-style “waffles,” you can spread your batter evenly onto a greased baking sheet with raised edges (also known as jelly roll pans). Bake until golden brown and then cut into individual portions.
- Pizzelle Maker: Pizzelle makers are flat irons traditionally used for making Italian cookies called pizzelles. However, they also produce thin and crispy treats resembling miniature rectangular-shaped waffles.
Remember these tips when preparing your alternative:
- Before using any non-stick alternatives like pans, make sure to season them properly with oil or butter.
- Ensure that your chosen surface is preheated adequately before adding the batter.
- Use medium heat settings initially and adjust accordingly based on how quickly the batter cooks.
- Flip halfway through cooking for even browning if using pans with only one side having indentations.
- Experiment with different cook times and heat levels to achieve the desired texture and crispiness.
With these waffle iron alternatives, you can enjoy delicious homemade waffles without needing a dedicated waffle maker. Now that your alternative is ready, let’s move on to the next step: preparing the batter.
Cooking the Waffles
To cook waffles without a waffle maker, you can use alternative methods such as using a grill or a stovetop. Here are the steps to cook your delicious homemade waffles:
- Preheat your chosen cooking surface: Whether it’s a grill or stovetop, make sure to preheat it to medium-high heat. This will ensure that the waffles cook evenly and get that desirable crispy texture.
- Grease the cooking surface: To prevent sticking, lightly grease the cooking surface with non-stick spray, butter, or oil.
- Pour the batter onto the hot surface: Using a ladle or measuring cup, pour about 1/2 to 3/4 cup of batter onto the center of the hot cooking surface for each waffle. Spread it slightly with a spoon or spatula to form an even circle.
- Cook one side until golden brown: Close the lid if using a grill; otherwise, let it cook uncovered on medium-high heat for about 4-5 minutes until golden brown and crisp around edges.
- Flip and repeat: Carefully flip over the cooked side using tongs or spatula and continue cooking for another 3-4 minutes until both sides are evenly cooked and golden brown in color.
- Check doneness by touch: Gently press on top of each waffle with your fingertips – if they feel firm and spring back lightly, they’re done!
- Remove from heat and repeat: Transfer cooked waffles onto a plate lined with paper towels to absorb any excess oil before serving warm immediately while repeating steps 3-6 for remaining batter.
Remember these tips when cooking your homemade waffles without a traditional waffle maker! With practice, you’ll be able to achieve delicious results every time.
Tips and Variations
Here are some helpful tips and variations to consider when making waffles without a waffle maker:
Cooking Method Alternatives
- If you don’t have a waffle maker, you can still make delicious waffles using alternative cooking methods.
- One option is to use a grill pan or a stovetop griddle. Grease the surface with butter or oil, pour the batter onto the heated surface, and cook until golden brown on each side.
- Another method is using a sandwich press. Preheat the press, place the batter between two sheets of parchment paper, close the press gently, and cook until crispy.
Batter Consistency
- Achieving the right consistency for your waffle batter is crucial. Aim for a thick but pourable consistency that easily spreads on your cooking surface.
- If your batter turns out too thin, add more flour gradually until it thickens up.
- On the other hand, if it’s too thick and doesn’t spread well, incorporate small amounts of milk or water until desired consistency is reached.
Experiment with Flavors
- Don’t be afraid to experiment with flavors in your waffle recipe!
Try adding ingredients like chocolate chips, blueberries, cinnamon or vanilla extract to enhance taste.
Toppings Galore!
Once your homemade waffles are ready to serve,
get creative with toppings!
Classic options include maple syrup drizzled over warm waffles,
fresh berries (strawberries or raspberries), whipped cream,
powdered sugar sprinkles,and melted butter
For those who prefer savory choices,
try topping your savory-style waffles
with fried chicken tenders or bacon bits.
Freezing Leftover Waffles
Make extra waffles and freeze them for later enjoyment.
Once cooled, place the waffles in a freezer-safe bag or container,
separating each layer with parchment paper to prevent sticking.
To reheat, simply pop the frozen waffle into the toaster
or warm it up in an oven preheated to 350°F (175°C) until crispy.
Remember, making waffles without a waffle maker opens up exciting possibilities. Enjoy experimenting with different techniques and flavors to create your own unique and delicious homemade waffles!
Conclusion
In conclusion, making waffles without a waffle maker is not only possible but also surprisingly easy. By following the simple steps outlined in this article, you can enjoy delicious homemade waffles without needing any specialized equipment.
Firstly, mix together your batter ingredients until smooth and well-combined. Then, preheat a regular skillet or griddle to medium heat and lightly grease it with cooking spray or butter. Pour the desired amount of batter onto the hot surface and spread it evenly using a spatula. Cook for a few minutes on each side until golden brown and crispy.
With these straightforward instructions, you can now confidently create scrumptious waffles whenever the craving strikes – no need to invest in an expensive waffle maker! So go ahead and give it a try; your taste buds will thank you for it!

